Tiny Pool Design: Let's Talk Tile
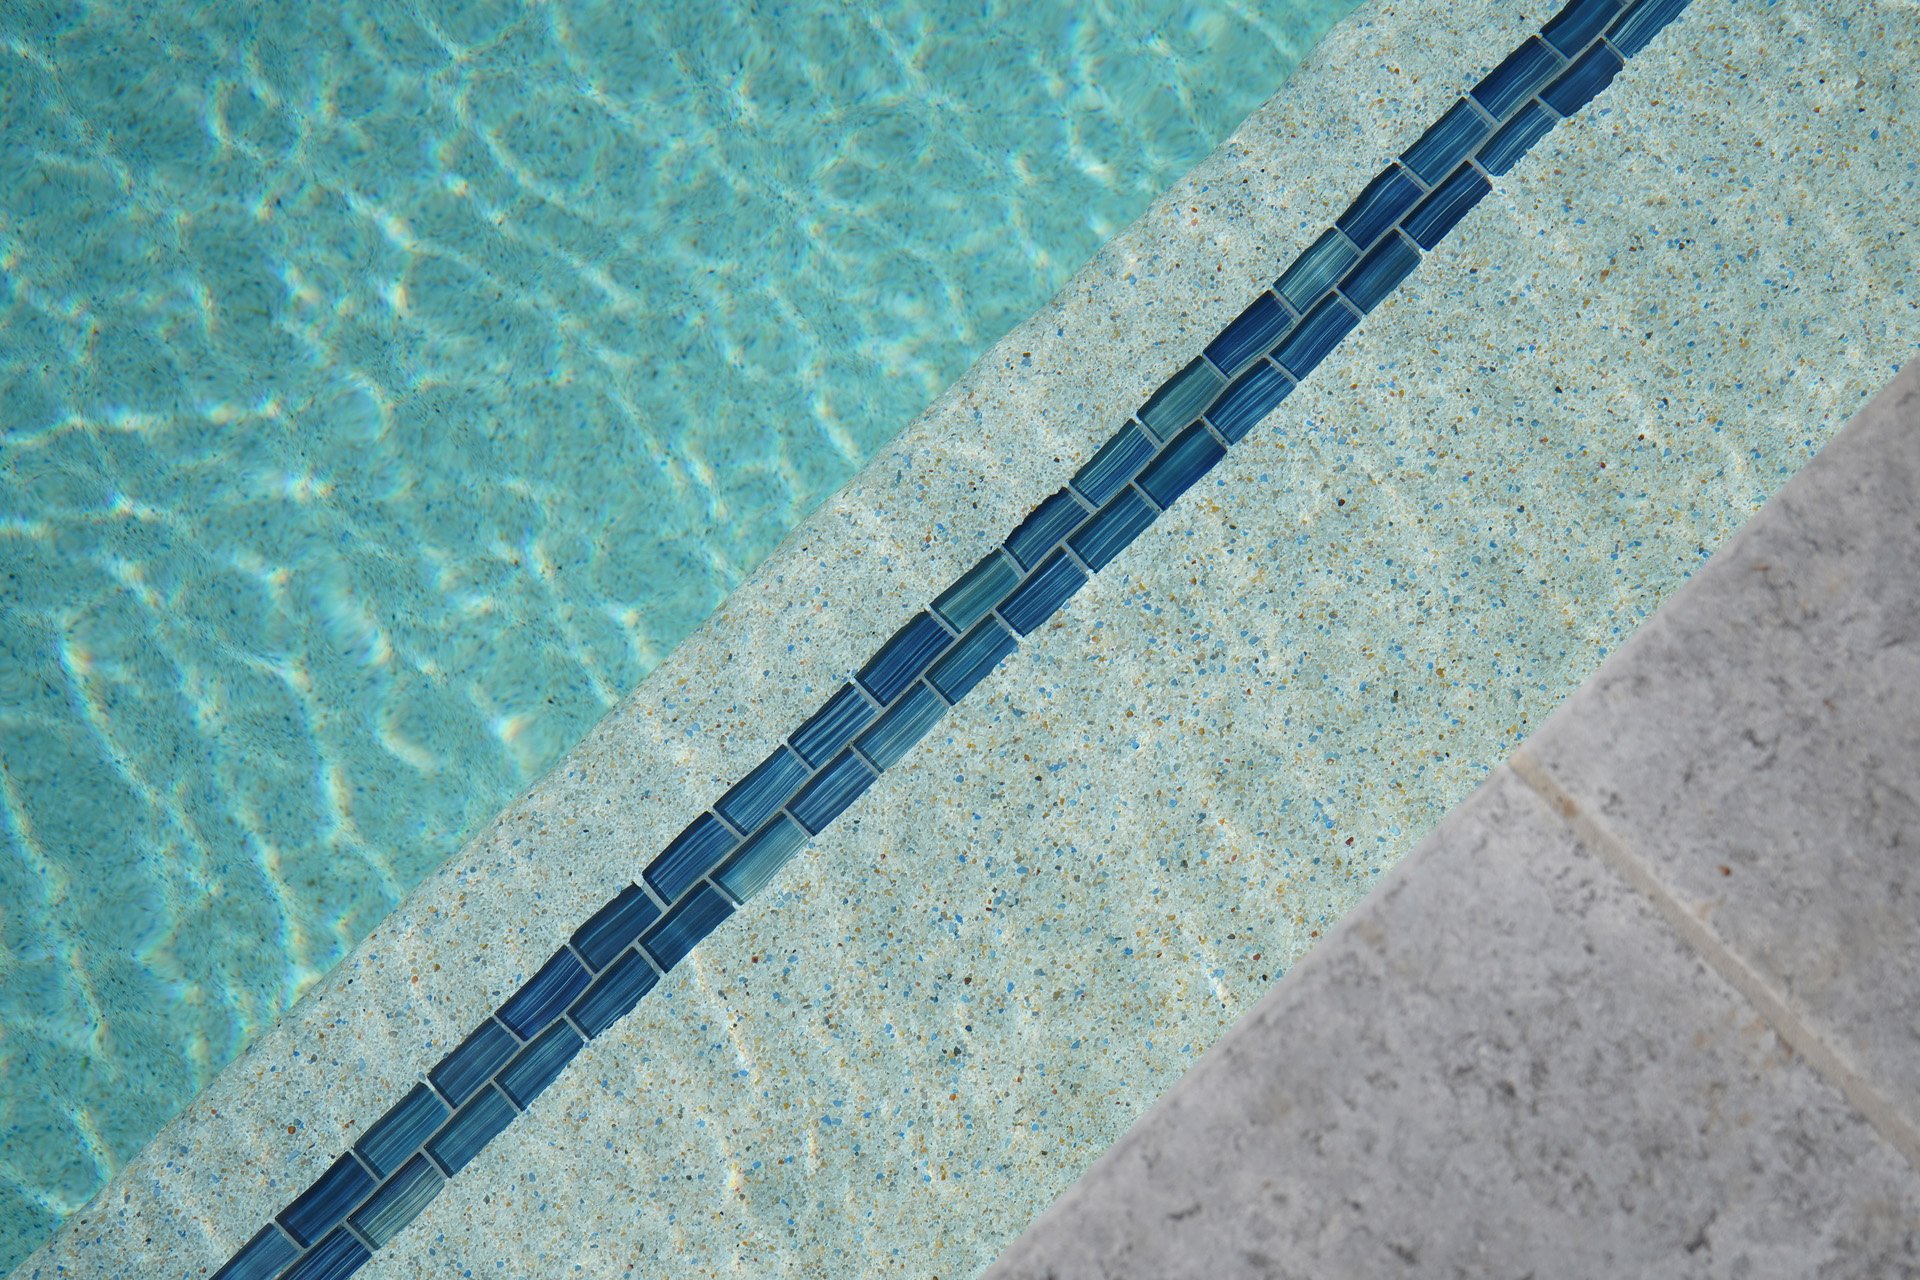
Tile is one of the most creative design elements to choose for your new Tiny Pool. The possibilities are almost endless and it adds fun dimensionality to your pool, in addition to tying into your entire home design and outdoor vibe.
But tile also has some important jobs to do! Check out our top tile tips as you dream about the options.
Waterline tile has an important purpose.
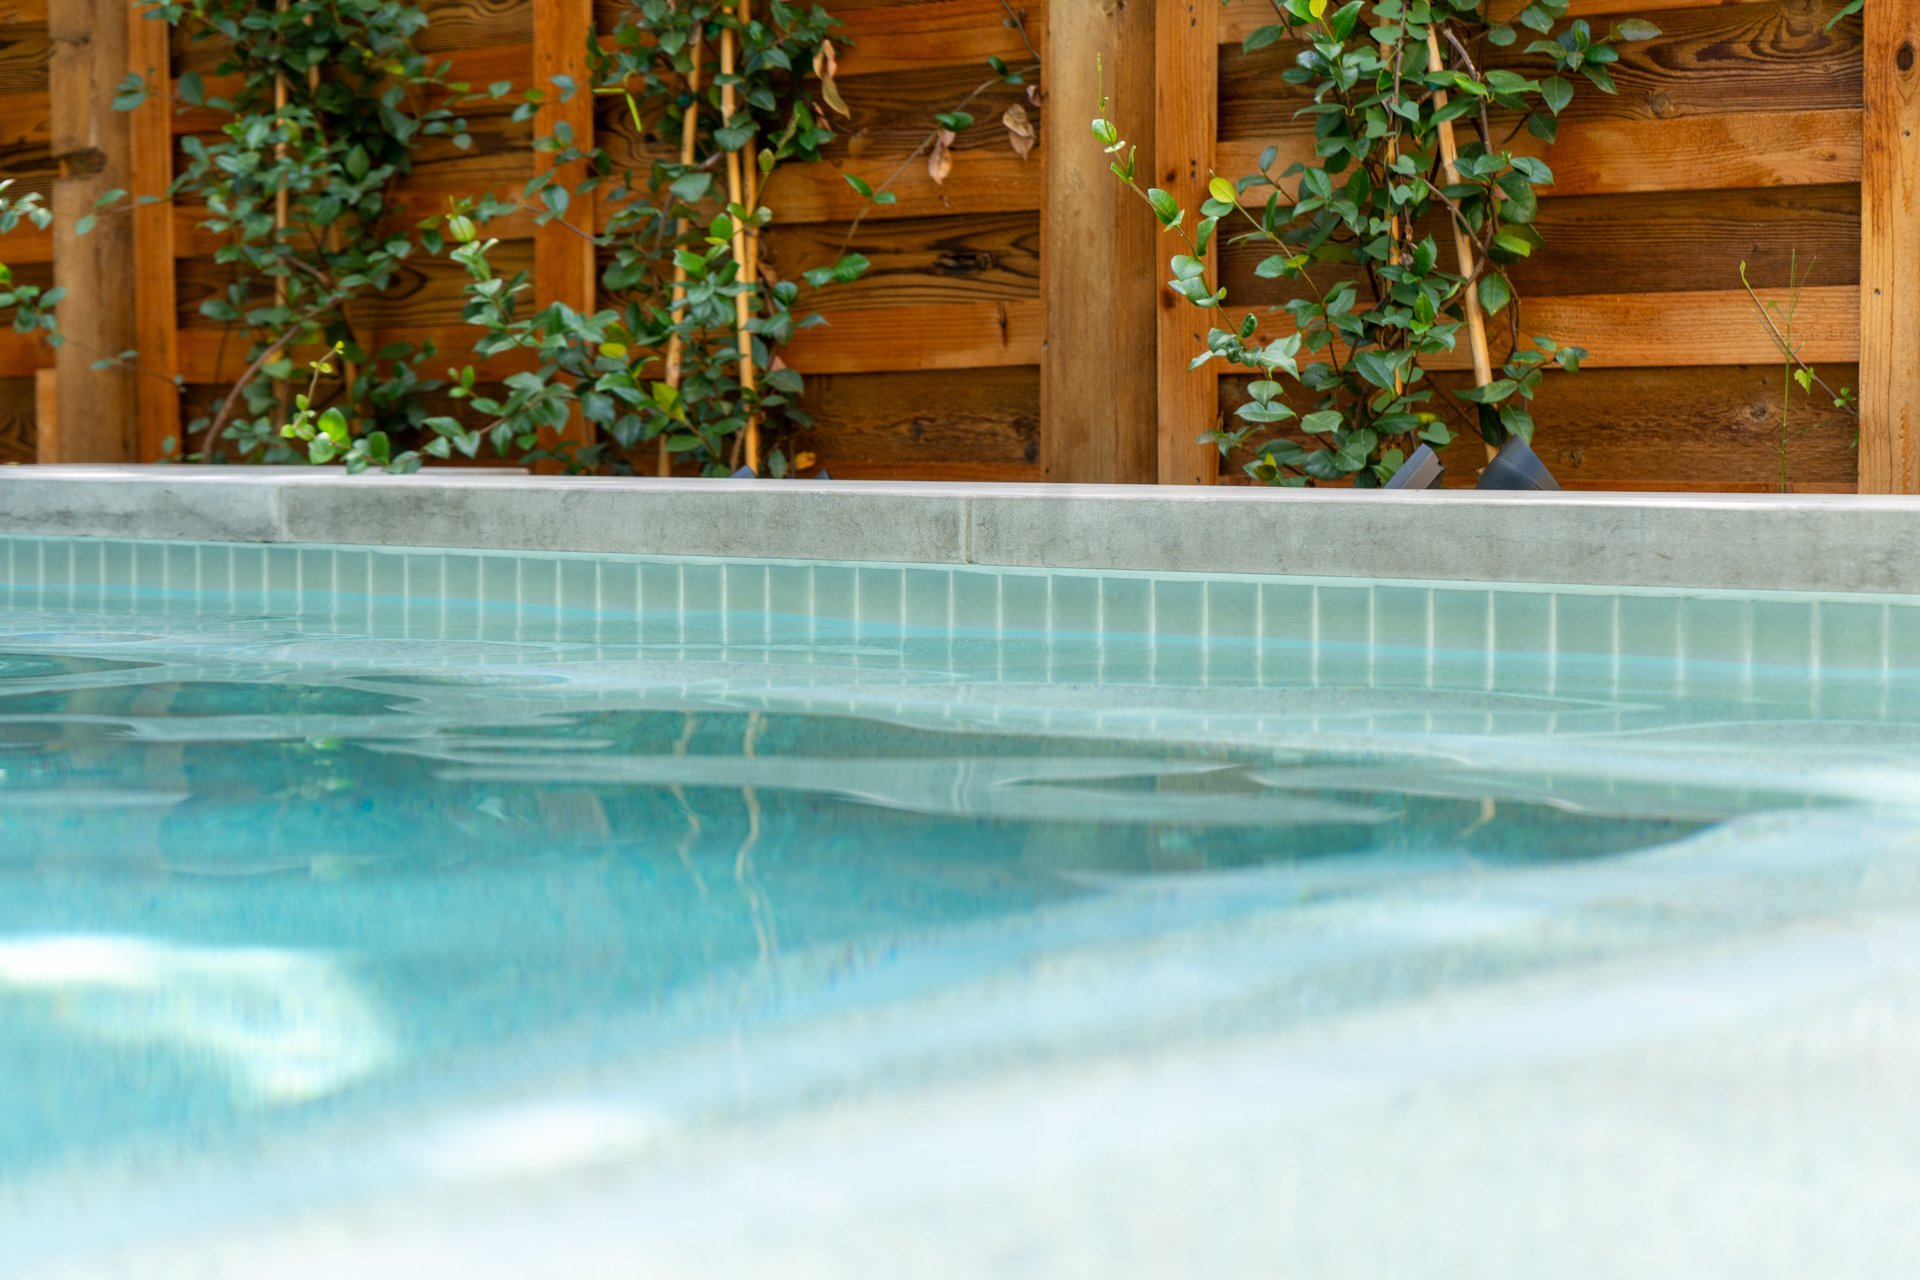
When we help you select tile for your Tiny Pool, there are so many options but one thing to remember is that your waterline tile always has to be 6” deep.
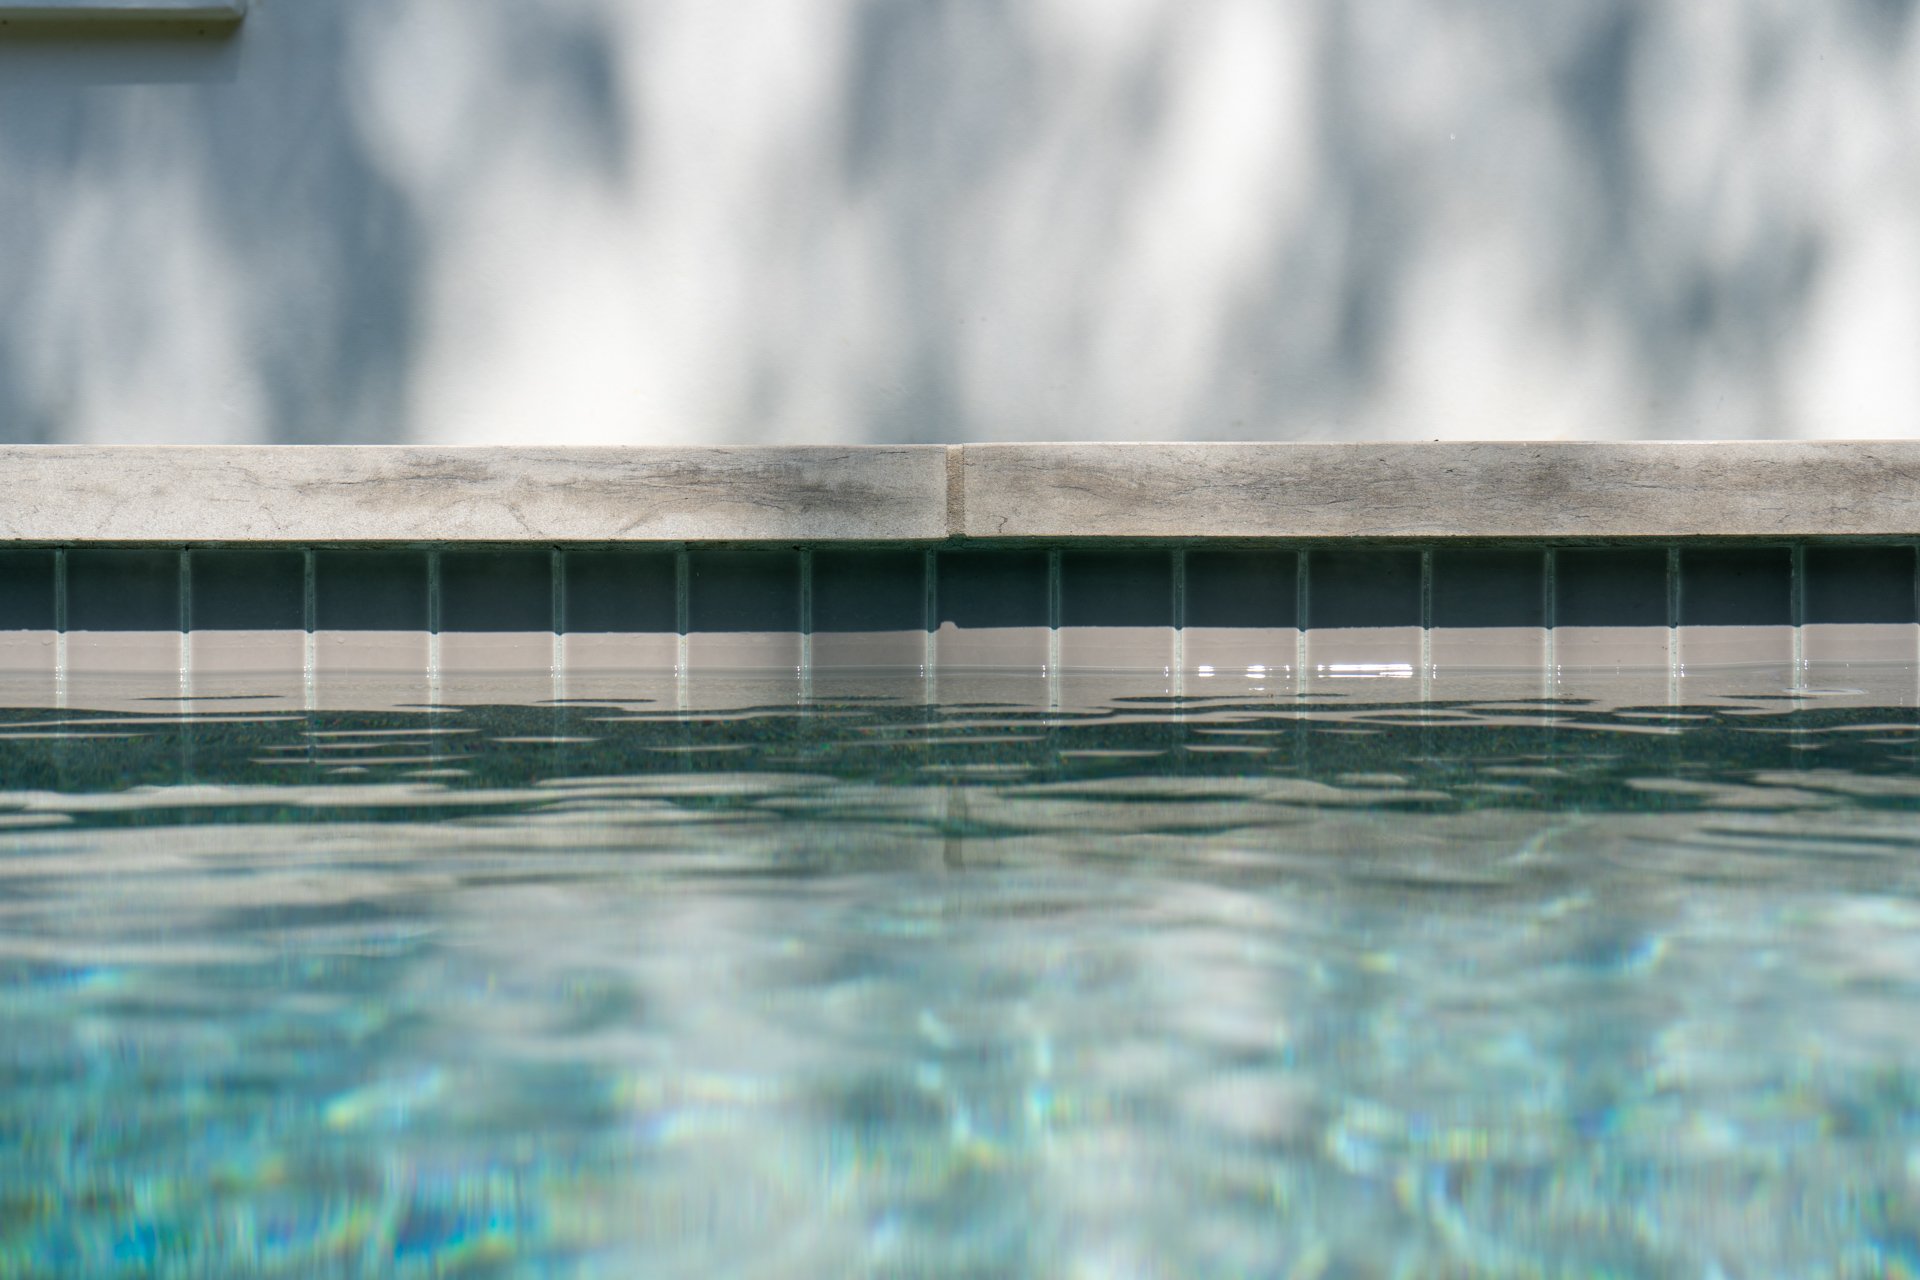
This 6” measurement starts right under your pool coping and extends down towards the plaster on the side of your pool. You want to keep your pool water level half-way up this 6” of tile at all times, so there should be 3” of tile peeking above the water showing its colors.
This water level keeps your pool in its happy place and protects your plaster, which you don’t ever want to be out of the water. In other words, you don’t want the water to get low enough that the plaster feels the air! This level also keeps the water level from being too high and sitting under the coping, which you also don’t want. This water level also keeps all of your pool equipment running smoothly as it’s just the right amount of water for your Tiny Pool!
It comes in an assortment of sizes.
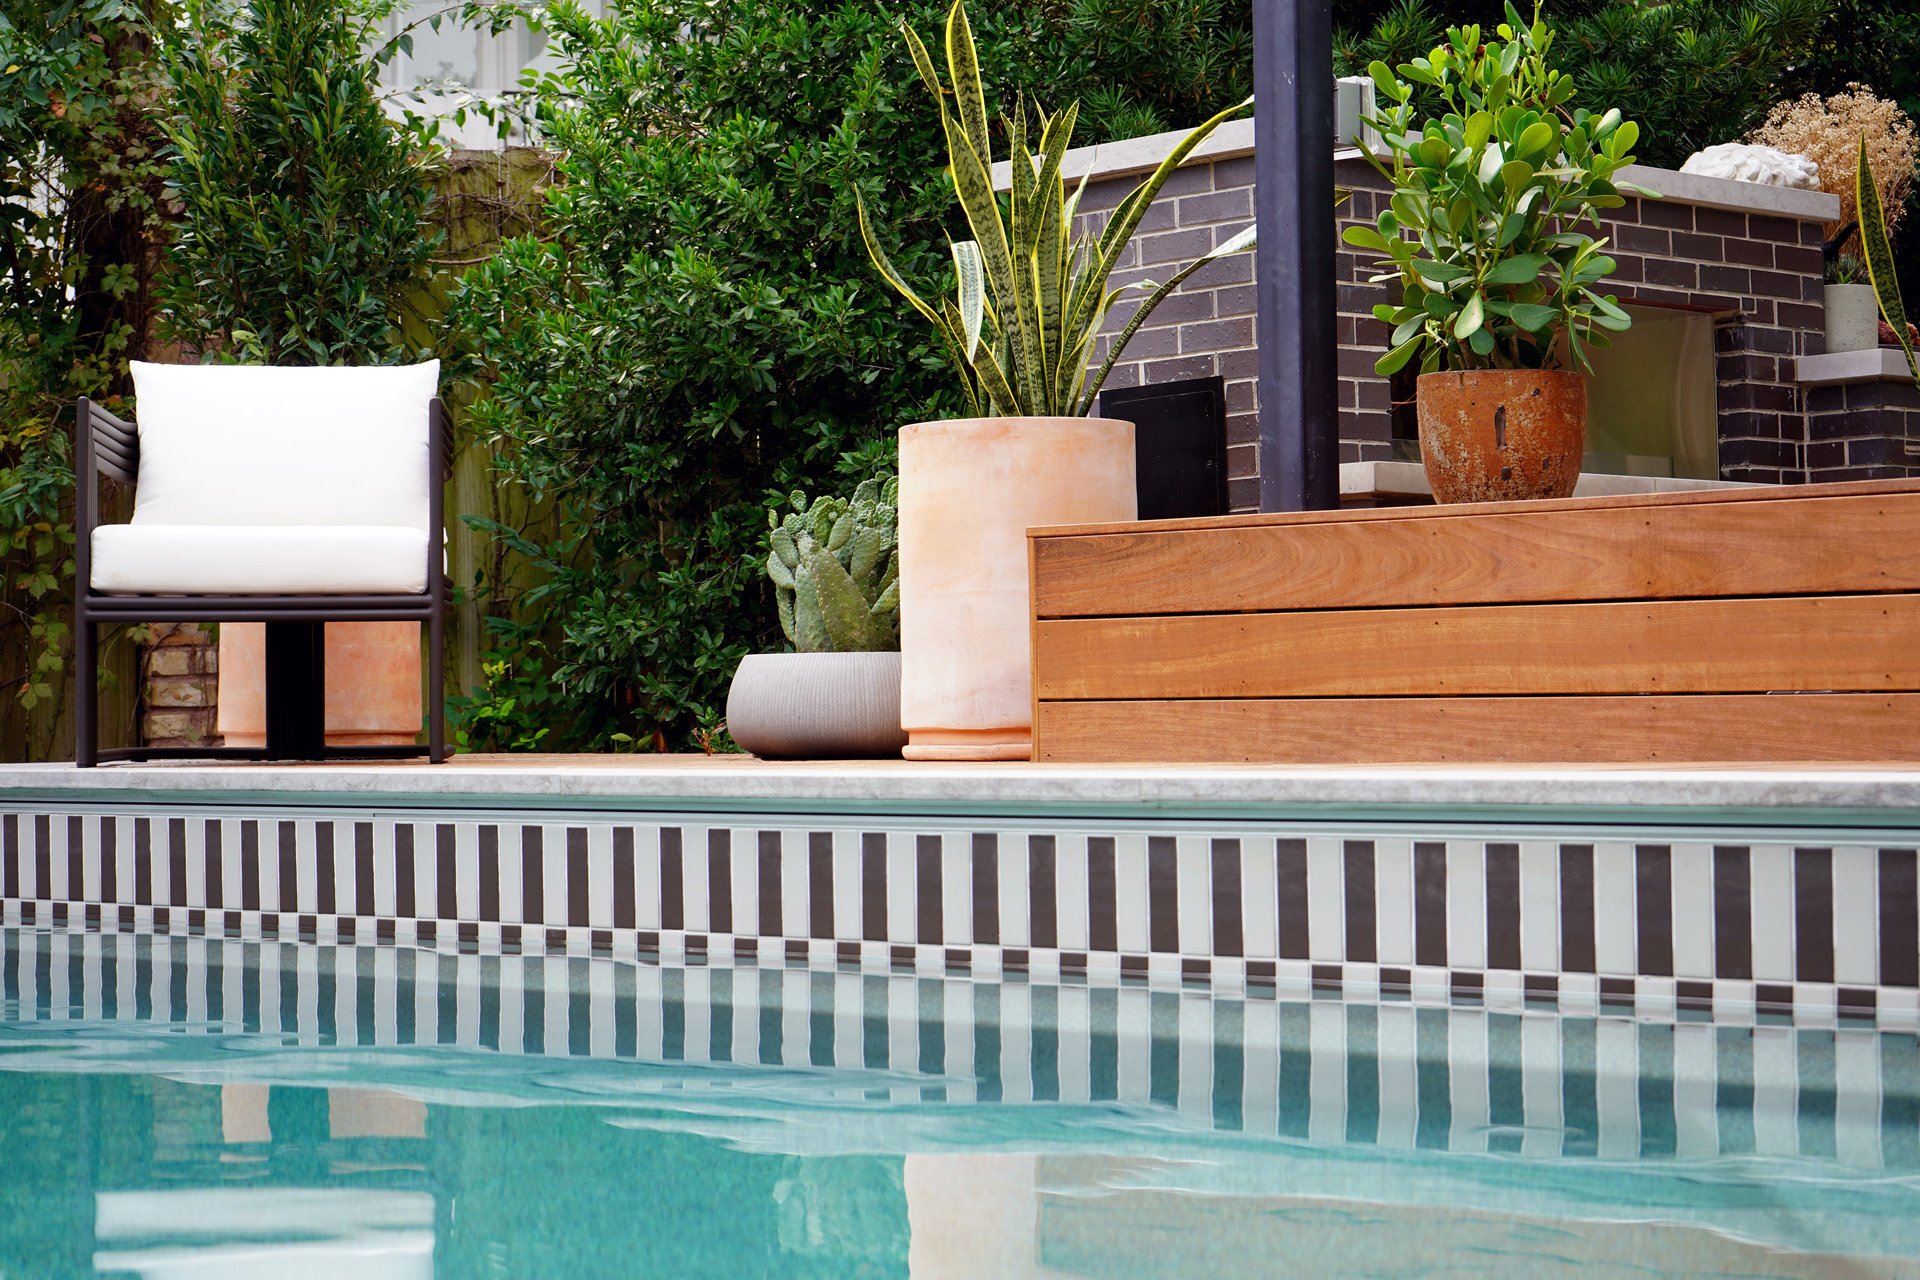
Now the fun part - you can select an assortment of tile sizes to get to the 6” depth! From good ole 6” squares, 6” x 12” rectangles to make your pool appear longer, tiny 1” squares stacked in 6 rows, fun polygon shapes that meet the 6” requirements, and many other shapes and configurations. There are so many options!
Tile must be pool rated.
You can’t just use any tile. Tile installed in your Tiny Pool needs to stand up to the elements (water, extreme temperatures, the sun, and chemicals).
We partner with several tile manufacturers to provide you with a wide range of budget and style options (see the links at the end of this blog post). We only install from these lines as when you venture into other types of tile, there can be a risk that the tile doesn’t meet our standards for a pool application.
Safety bonus! Try some toe tile.
Tile can serve as a visual cue for safe stepping when you add it as a narrow border on steps and benches. This is called “toe tile” or “trim tile”.
Toe tile can serve as a helpful visual cue that the water depth is changing, and can also be a fun design addition to your pool.
Ceramic vs. Glass
Tile comes in two materials that we typically install: glazed ceramic or glass. Ceramic tile is opaque and adds a solid color palette to your pool. Glass tile comes with a higher price tag because it requires a more careful installation. Choosing glass tile gives your waterline a transparent look where you can somewhat see “through” the tile. It’s totally a personal preference!
Please note, glass tile has a more complex installation process and will cost more to install.
Don’t forget the grout.
Once you’ve selected your tile, our team will help you pick a grout color that compliments your pool’s look and feel. There are over 50 grout colors to choose from! Be sure to keep in mind that a lighter grout will require more scrubbing to keep it sparkling, which brings us to our last tile tidbit….
Tile care
Take care of your tile just as much as you would the bottom and sides of your pool! Scrub it weekly with your pool brush, and remember to keep the water line always at a level half-way up the tile to keep everything running smoothly and your plaster and coping protected!
For a more thorough guide to keeping your tile clean, click here to read more!
Design Resources
Ready to get inspired? Here are some great tile companies that we often partner with. Take a look at their websites by clicking on the logos below.
So, are you ready to get tiling? Let us know if you have any questions on your tile design journey!


